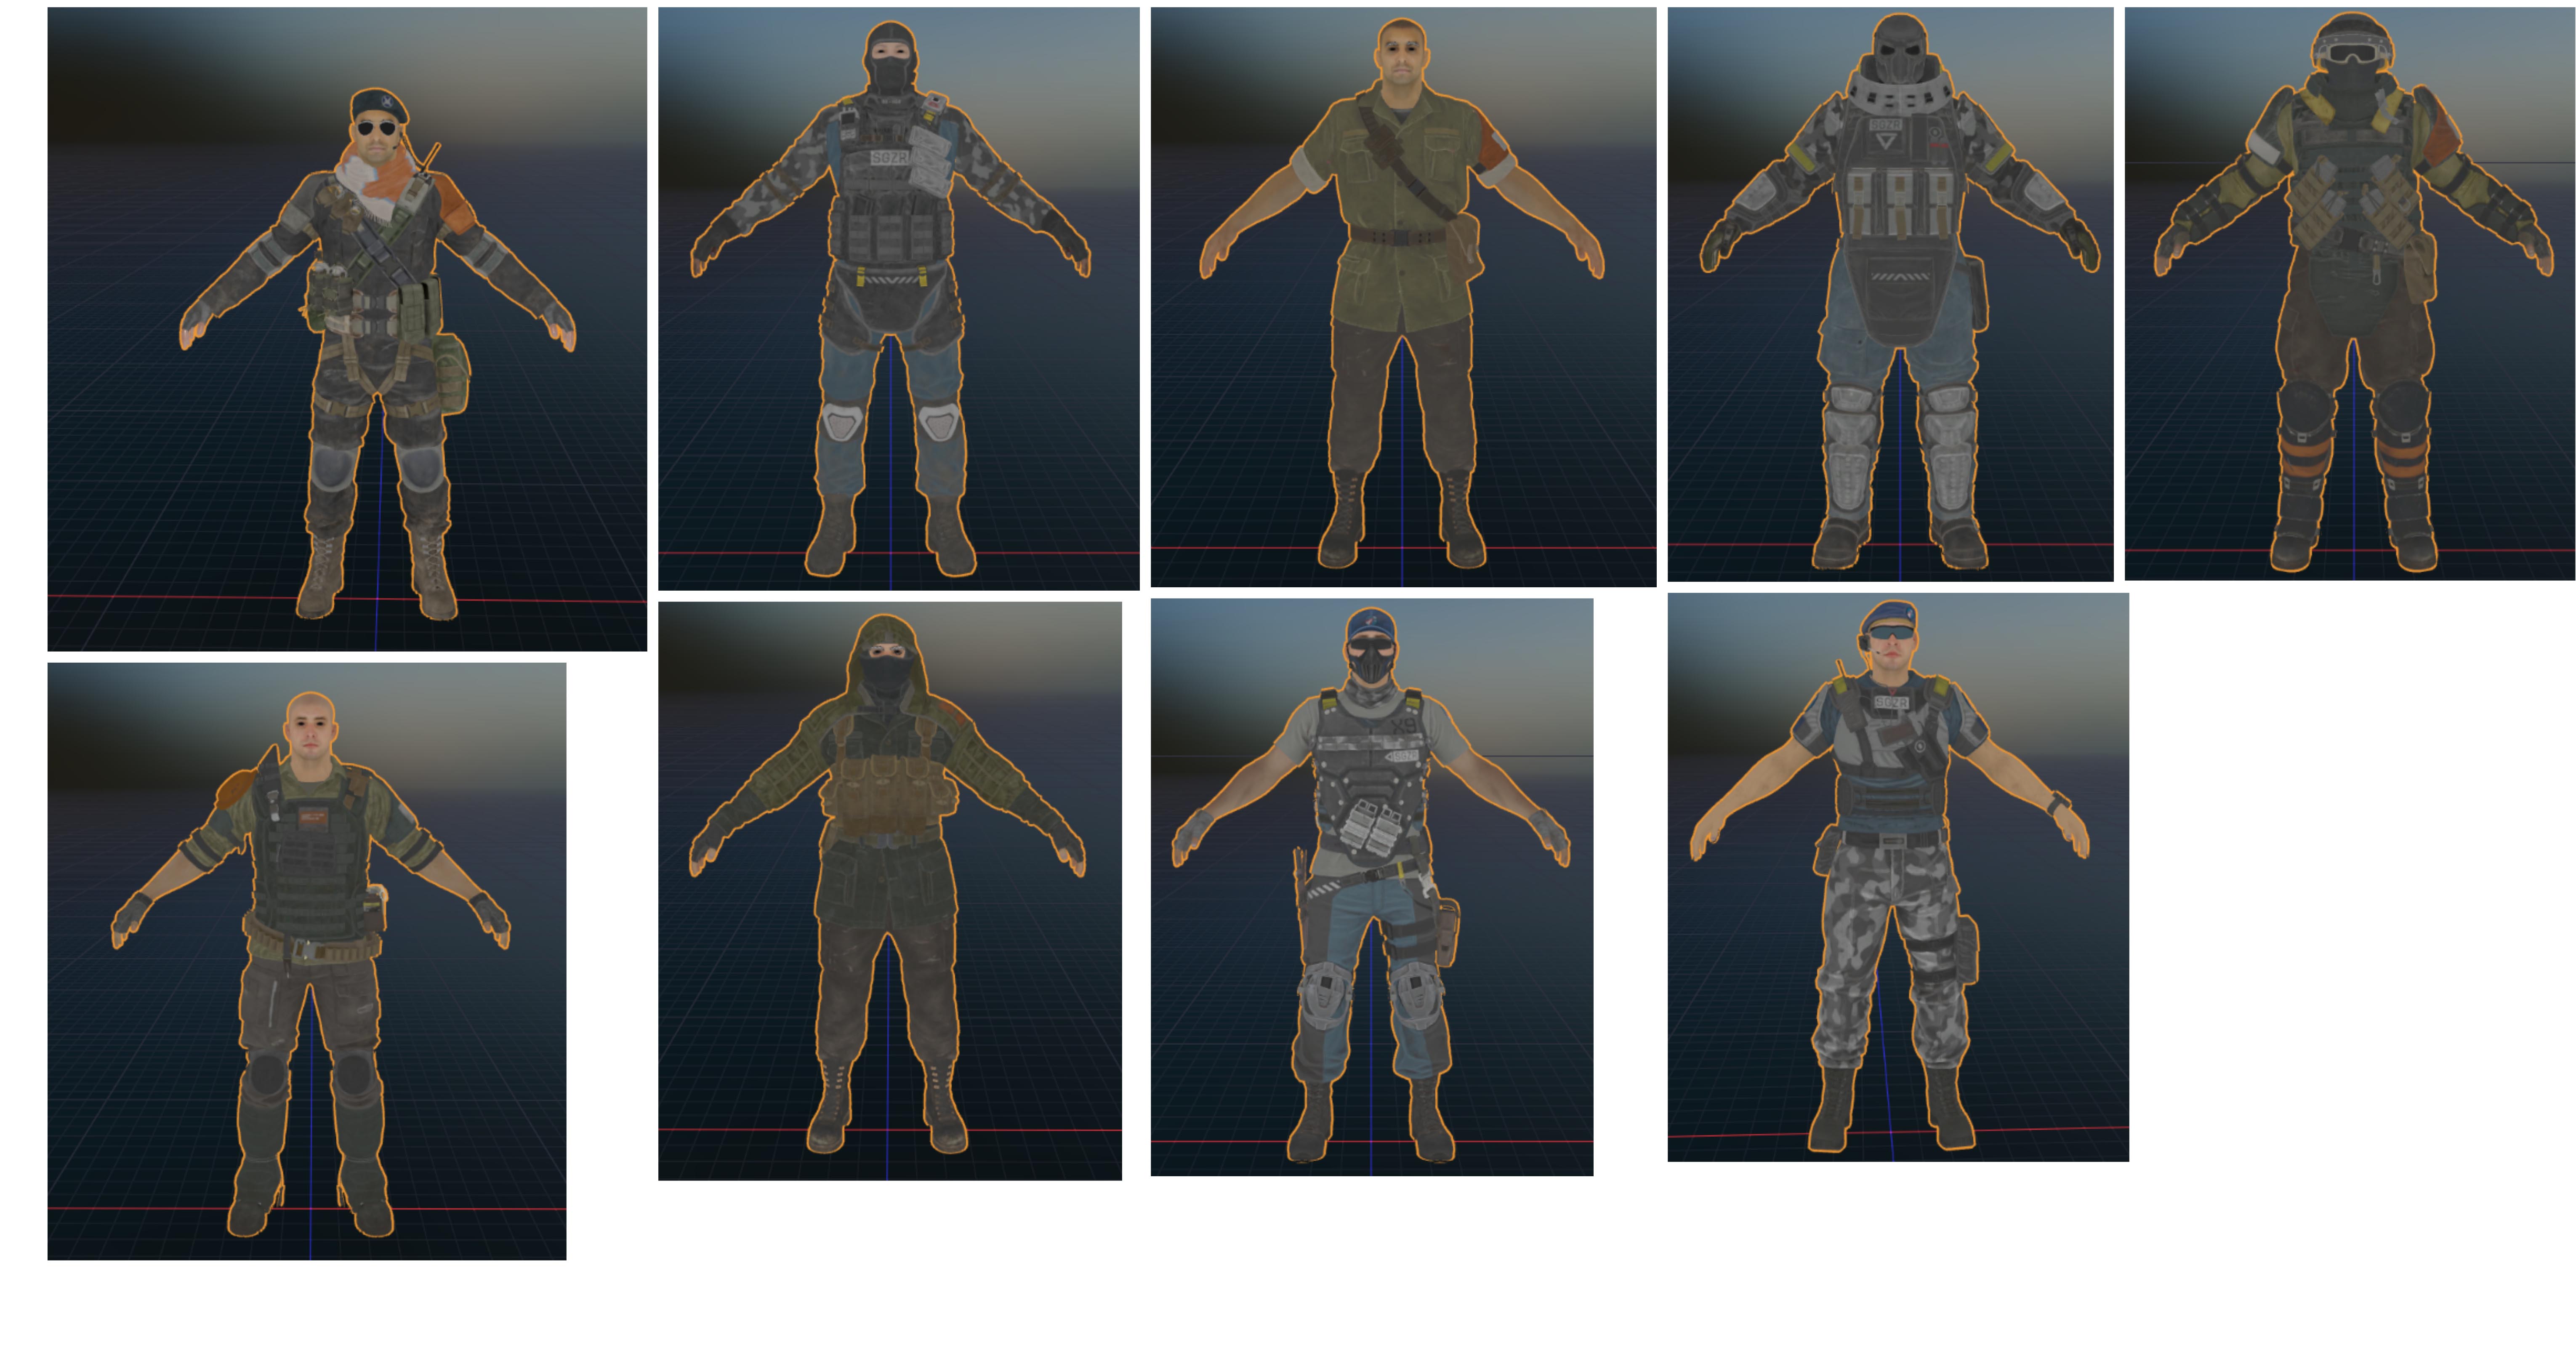
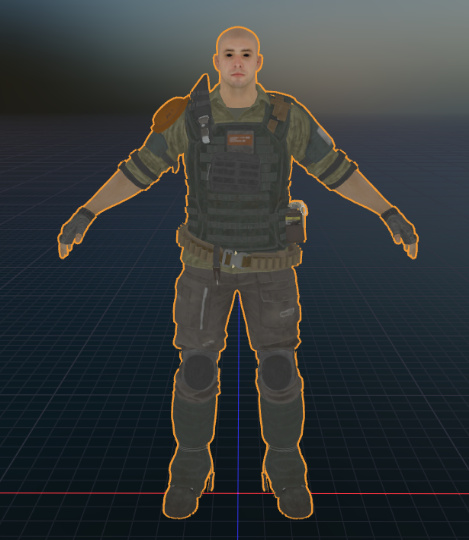
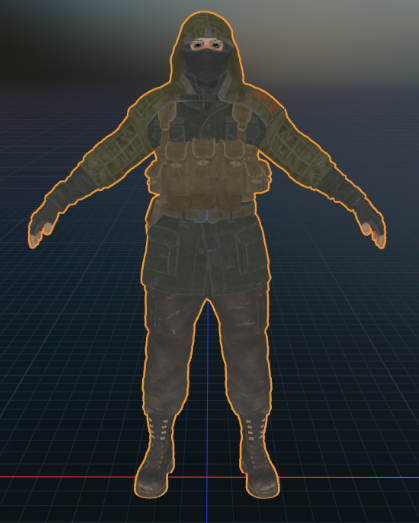
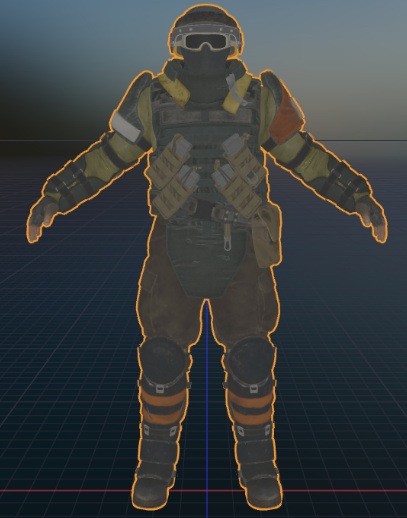
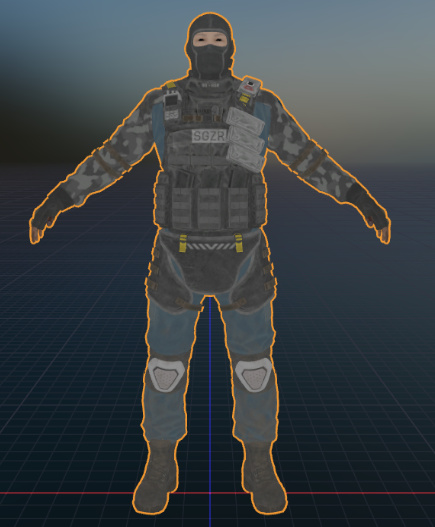
Guerilla and PMC Identification
I don’t recall this ever being done but there’s actual names to the AI’s and stats for shit that probably don’t mean anything to people, the health amount is deceptive to the actual armor that is in place for all of the AI’s and until a calculator is made it is fruitless to include but I am doing it anyways… Just health specifically though.
Base Guerilla Damage Zones
Head: +300% Damage
Body: +0% Damage
Left/Right Arm: -30% Damage
Left/Right Leg: -40% Damage
Base PMC Damage Zones
Head: +200% Damage
Body: +0% Damage
Left/Right Arm: -5% Damage
Left/Right Leg: -35% Damage
Behaviors Example
There’s quite a few of these for different states the AI can be set to and some data that follows, theres quite a lot of these and it’s probably not needed to go through all of them
Sub Trees
    "Name": "CallReinforcements"

    "BotProperties": {
                  "AssetPathName": "/Game/Character/Data/Guerrilla/Properties/Reinforcements/PR_Guerrilla_Grunt_AK_Reinforcements.PR_Guerrilla_Grunt_AK_Reinforcements",

                "NumToSpawn": 3,
                "MinFireTeamToSpawnBots": 0,
            "TimeBetweenSpawns": 4.0

 "BotProperties": {
                  "AssetPathName": "/Game/Character/Data/Guerrilla/Properties/PR_G_Grunt_AR-W.PR_G_Grunt_AR-W",

                "NumToSpawn": 3,
                "MinFireTeamToSpawnBots": 0,
            "TimeBetweenSpawns": 4.0

        "TimeBetweenWaves": 7.0,
        "MaxEnemySearchDistance": 10000.0

      "bCheckIfCampAlaramsCanBeTriggered": true,
      "MinReinforcementCallTime": 4.2,
      "MaxReinforcementCallTime": 4.2,


    "Name": "EnemySpotted"

    "Class": "UScriptClass'BTDecorator_RandomChance'",
      "ChanceOfSuccess": 0.75,

    "Class": "UScriptClass'BTDecorator_RandomChance'",
      "ChanceOfSuccess": 0.45,

    "Class": "UScriptClass'BTTask_Wait'",
      "WaitTime": 0.2,
      "RandomDeviation": 0.1,


    "Name": "FollowOrders"

    "Class": "UScriptClass'BTDecorator_WithinDistanceOf'",
      "MaxDistance": 1000.0,
        "SelectedKeyName": "CurrentOrdersFocusTarget"

      "AcceptableRadiusMin": 300.0,
      "AcceptableRadiusMax": 1000.0,
        "SelectedKeyName": "WanderLocation"

    "Class": "UScriptClass'BTTask_SFMoveToExtended'",
      "AcceptableRadius": 100.0,

    "Class": "UScriptClass'BTTask_SFMoveToExtended'",
      "AcceptableRadius": 300.0,
      "RandomPointRadius": 800.0,

      "bSprintToGoal": true,
      "bClearFocusWhileMoving": true,

    "Class": "UScriptClass'BTTask_Wait'",
      "WaitTime": 1.0,
      "RandomDeviation": 0.5,


    "Name": "InvestigateDeadBody"

        "SelectedKeyName": "DeadBodyLocation"

      "AcceptableRadiusMin": 50.0,
      "AcceptableRadiusMax": 500.0,
        "SelectedKeyName": "WanderLocation"

    "Class": "UScriptClass'BTTask_SFMoveToExtended'",
      "AcceptableRadius": 25.0,

    "Class": "UScriptClass'BTTask_Wait'",
      "WaitTime": 0.3,
      "RandomDeviation": 0.2,


    "Name": "InvestigateStimulus"

      "ComparisonAIState": "ESFAIState::Combat",
        "SelectedKeyName": "AIState"
      "FlowAbortMode": "EBTFlowAbortMode::Self",
      "NodeName": "Not in Combat",


      "ComparisonOperator": "EArithmeticKeyOperation::Greater",
        "SelectedKeyName": "AIState"
      "NodeName": "Not Passive",

    "Type": "BTDecorator_ForceSuccess",
    "Name": "BTDecorator_ForceSuccess_0",
    "Outer": "InvestigateStimulus",

    "Type": "BTDecorator_TimeLimit",
    "Name": "BTDecorator_TimeLimit_1",
    "Outer": "InvestigateStimulus",


    "Class": "UScriptClass'BTDecorator_WithinTimeOf'",
      "TimeLimit": 7.0,
        "SelectedKeyName": "LastCriticalStimulusTime"

    "Class": "UScriptClass'BTDecorator_Cooldown'",
      "CoolDownTime": 30.0,


    "Name": "MoveToEnemy"

    "Name": "SearchForLostEnemy"

    "Name": "TakeCover"

    "Name": "TriggerCampAlarm"

    "Name": "WaypointPathing"
Guerilla Behavior Tree
    "Class": "UScriptClass'BTDecorator_ShouldReactToEnemy'"
      "ReactionTime": 2.5

    "Class": "UScriptClass'BTDecorator_WithinDistanceOf'",
        "SelectedKeyName": "KnownEnemyLocation"

      "MaxDistance": 2000.0

    "Class": "UScriptClass'BTDecorator_WithinTimeOf'",
        "SelectedKeyName": "LastStimulusTime"
      "NodeName": "Had Stimulus in the last 2 seconds",

      "TimeLimit": 5.0

    "Class": "UScriptClass'BTService_EvaluateEnemies'"

      "RandomDeviation": 0.25

    "Class": "UScriptClass'BTService_EvaluateEnemies'"

      "Interval": 1.25
      "RandomDeviation": 0.5


    "Class": "UScriptClass'BTService_FireWeapon'"
      "NodeName": "Shoot Enemy"

      "Interval": 0.7
      "RandomDeviation": 0.3

    "Class": "UScriptClass'BTService_FireWeapon'"
      "NodeName": "Shoot Enemy"

      "Interval": 0.4
      "RandomDeviation": 0.3

    "Class": "UScriptClass'BTService_ThrowGrenade'"

      "Interval": 50.0
      "RandomDeviation": 35.0


    "Class": "UScriptClass'BTService_ThrowGrenade'"

      "Interval": 8.0
      "RandomDeviation": 8.0

    "Class": "UScriptClass'BTTask_FindWanderPoint'"

      "AcceptableRadiusMin": 2000.0
      "AcceptableRadiusMax": 2500.0

    "Class": "UScriptClass'BTTask_Flee'"

      "FleeDistance": 1500.0

    "Class": "UScriptClass'BTTask_PlayReactionAnimation'"

      "ChanceToPlayReactionAnimation": 0.8

    "Class": "UScriptClass'BTTask_SFMoveToExtended'"
        "SelectedKeyName": "WanderLocation"

      "AcceptableRadius": 2500.0

      "bSprintToGoal": true,
      "bClearFocusWhileMoving": true

    "Class": "UScriptClass'BTTask_Wait'"

      "WaitTime": 1.0
      "RandomDeviation": 2.0

    "Class": "UScriptClass'BTTask_Wait'" (Throw Grenade & Fire Weapon)

      "WaitTime": 3.0

    "Class": "UScriptClass'BTTask_Wait'"

      "WaitTime": 0.3
      "RandomDeviation": 0.2

    "Class": "UScriptClass'BTTask_Wait'"

      "WaitTime": 0.3
      "RandomDeviation": 0.2

    "Class": "UScriptClass'BTTask_Wait'"

      "WaitTime": 0.5
      "RandomDeviation": 0.2

    "Class": "UScriptClass'BTTask_Wait'"

      "WaitTime": 0.5
      "RandomDeviation": 0.2

    "Class": "UScriptClass'BTTask_Wait'"

      "WaitTime": 1.0
      "RandomDeviation": 0.5


        "ObjectName": "BehaviorTree'InvestigateStimulus'",
      "NodeName": "Investigate Stimulus"

        "ObjectName": "BehaviorTree'FollowOrders'"
      "NodeName": "Follow Orders"

        "ObjectName": "BehaviorTree'MoveToEnemy'"
      "NodeName": "MoveToEnemy"

        "ObjectName": "BehaviorTree'TakeCover'"
      "NodeName": "Take Cover"

        "ObjectName": "BehaviorTree'WaypointPathing'"
      "NodeName": "Pathing"

        "ObjectName": "BehaviorTree'EnemySpotted'"
      "NodeName": "Enemy Spotted"

        "ObjectName": "BehaviorTree'SearchForLostEnemy'"
      "NodeName": "Search For Lost Enemy"

        "ObjectName": "BehaviorTree'TriggerCampAlarm'"
      "NodeName": "Trigger Camp Alarm"
Stuff to note
- AI reinforcements have unique stats and it is fucking annoying to sift through
- AI have stamina and recovery
- AI’s have a lot of fucking stats associated with them that are somewhat more irrelevant than all the other random stuff you can find within Fireteam and Predator
- AI’s sometimes have differing damage zones, some are alarmingly high
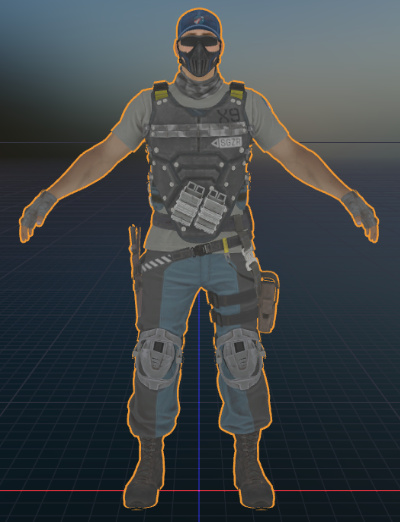
Guerilla Grunt
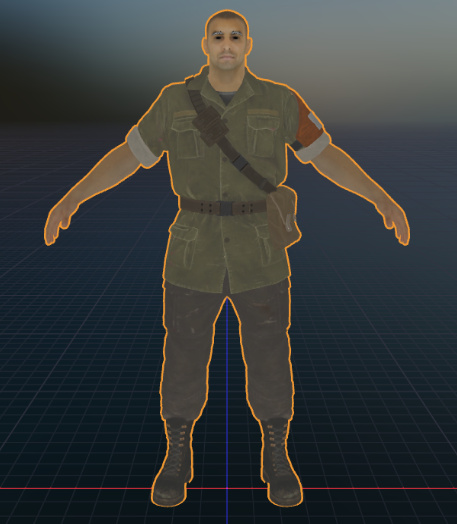
  "Health": 30.0,
  "Stamina": 14.0,
  "MediumDamageThreshold": 10.0,
Guerilla Elite
  "Health": 50.0,
  "MediumDamageThreshold": 200.0,
Guerilla Sniper
"Health": 25.0,
Left/Right Arm: -20% Damage
Left/Right Leg: -30% Damage
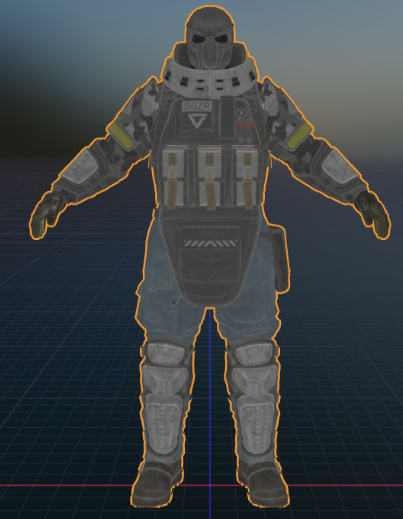
Guerilla Heavy
  "Health": 115.0,
  "MediumDamageThreshold": 30.0,
Head: +250% Damage
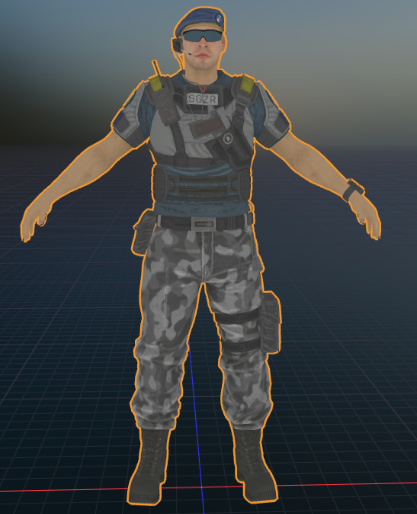
Guerilla Captain

  "Health": 75.0,
  "MediumDamageThreshold": 30.0,
lol?
PMC Elite
"Health": 150.0
PMC Sniper
"Health": 115.0,
Head: +600% Damage
Left/Right Arm: -20% Damage
Left/Right Leg: -30% Damage
PMC Heavy
  "Health": 250.0,
  "ExhaustionDuration": 1.0,
  "MediumDamageThreshold": 200.0,
Head: +250% Damage
PMC Captain
"Health": 150.0,
Head: +500% Damage
States
What the player sees at the bottom left hand corner of the screen
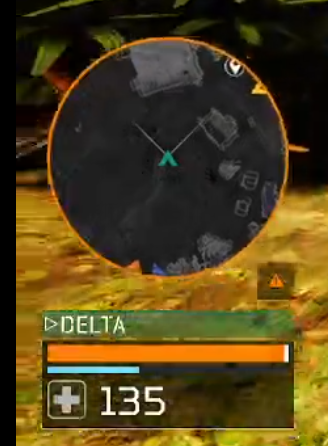
Combat

Hunted

Investigating

Guerilla/PMC Icons
Generic icons that are reused within spotting for the minimap and HUD for gameplay
GeneralAI_Grunts

SpecialAI_Heavy

PMC_Captain

PMC_Elite

PMC_Heavy

PMC_Sniper

SpecialAI_Captain

SpecialAI_Heavy
SpecialAI_Sniper